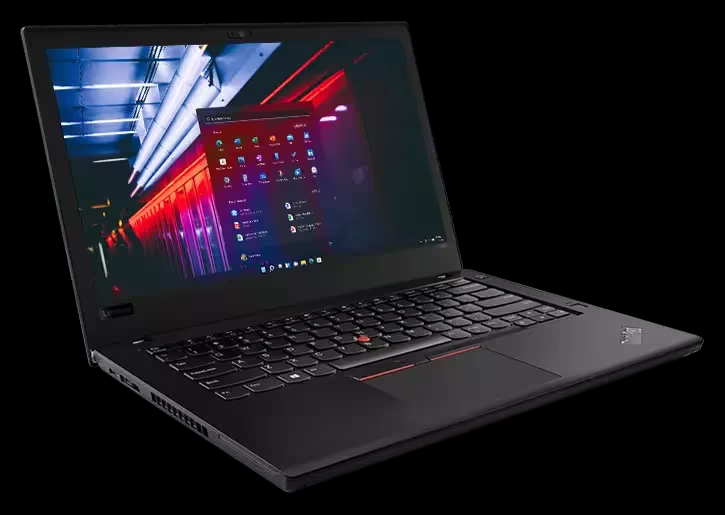
In the age of information and digital communication, taking screenshots on your laptop can be an invaluable tool for sharing moments, preserving information, or troubleshooting issues. For Lenovo laptop users, capturing a screenshot is a straightforward process. This guide will walk you through the simplest methods to take a screenshot on your Lenovo laptop, whether it’s running Windows 10, Windows 11, or another operating system.
Utilizing Keyboard Shortcuts for Quick Screenshots
The quickest and most direct method to take a screenshot is through keyboard shortcuts. Lenovo laptops running Windows operating systems share common shortcuts with other Windows devices.
Full Screen and Active Window Captures
- PrtScn (Print Screen): Pressing this key captures an image of your entire screen and copies it to the clipboard. You can then paste (CTRL + V) this into an image editing program or document.
- ALT + PrtScn: By pressing these keys together, you’ll capture only the active window, not the entire screen. Again, you’ll need to paste this image somewhere to save it.
- Windows + PrtScn: This combination will capture your screen and automatically save the screenshot in the “Screenshots” folder, which can be found in the “Pictures” library.
Capturing a Specific Part of Your Screen
- Windows + Shift + S: When you use this shortcut, your screen will fade, and your cursor will change, allowing you to select the part of your screen you want to capture. This screenshot will be copied to your clipboard, and you can paste it into an image editor or document.
Advanced Tools for Detailed Screen Captures
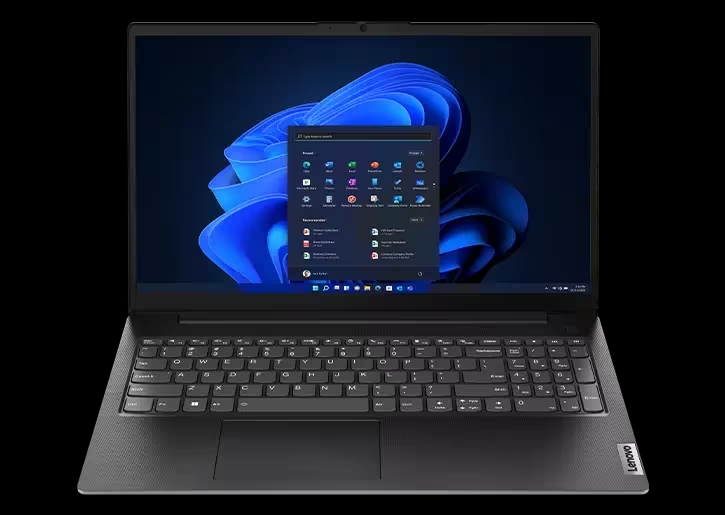
Sometimes, you might need more control over your screen captures than what the basic keyboard shortcuts provide. Lenovo laptops with Windows come equipped with built-in tools that allow for more detailed screenshots.
Using the Snipping Tool
The Snipping Tool has been a part of Windows for some time and offers a simple UI with several options for capturing screenshots:
- Search for the Snipping Tool through the Start menu and open it.
- Choose the type of snip you need—free-form, rectangular, window, or full-screen.
- Click “New,” select the area you want to capture, and then save the screenshot from the Snipping Tool window.
Leveraging Snip & Sketch for Enhanced Editing
Snip & Sketch is a newer tool that integrates well with Windows 10 and Windows 11 and provides additional editing features:
- Open Snip & Sketch via the Start menu or by using the Windows + Shift + S shortcut.
- After capturing your screenshot, an image editor window will open where you can annotate or crop your image.
- Save the final version directly from the Snip & Sketch application.
Taking Screenshots on Lenovo Laptops with Non-Windows OS
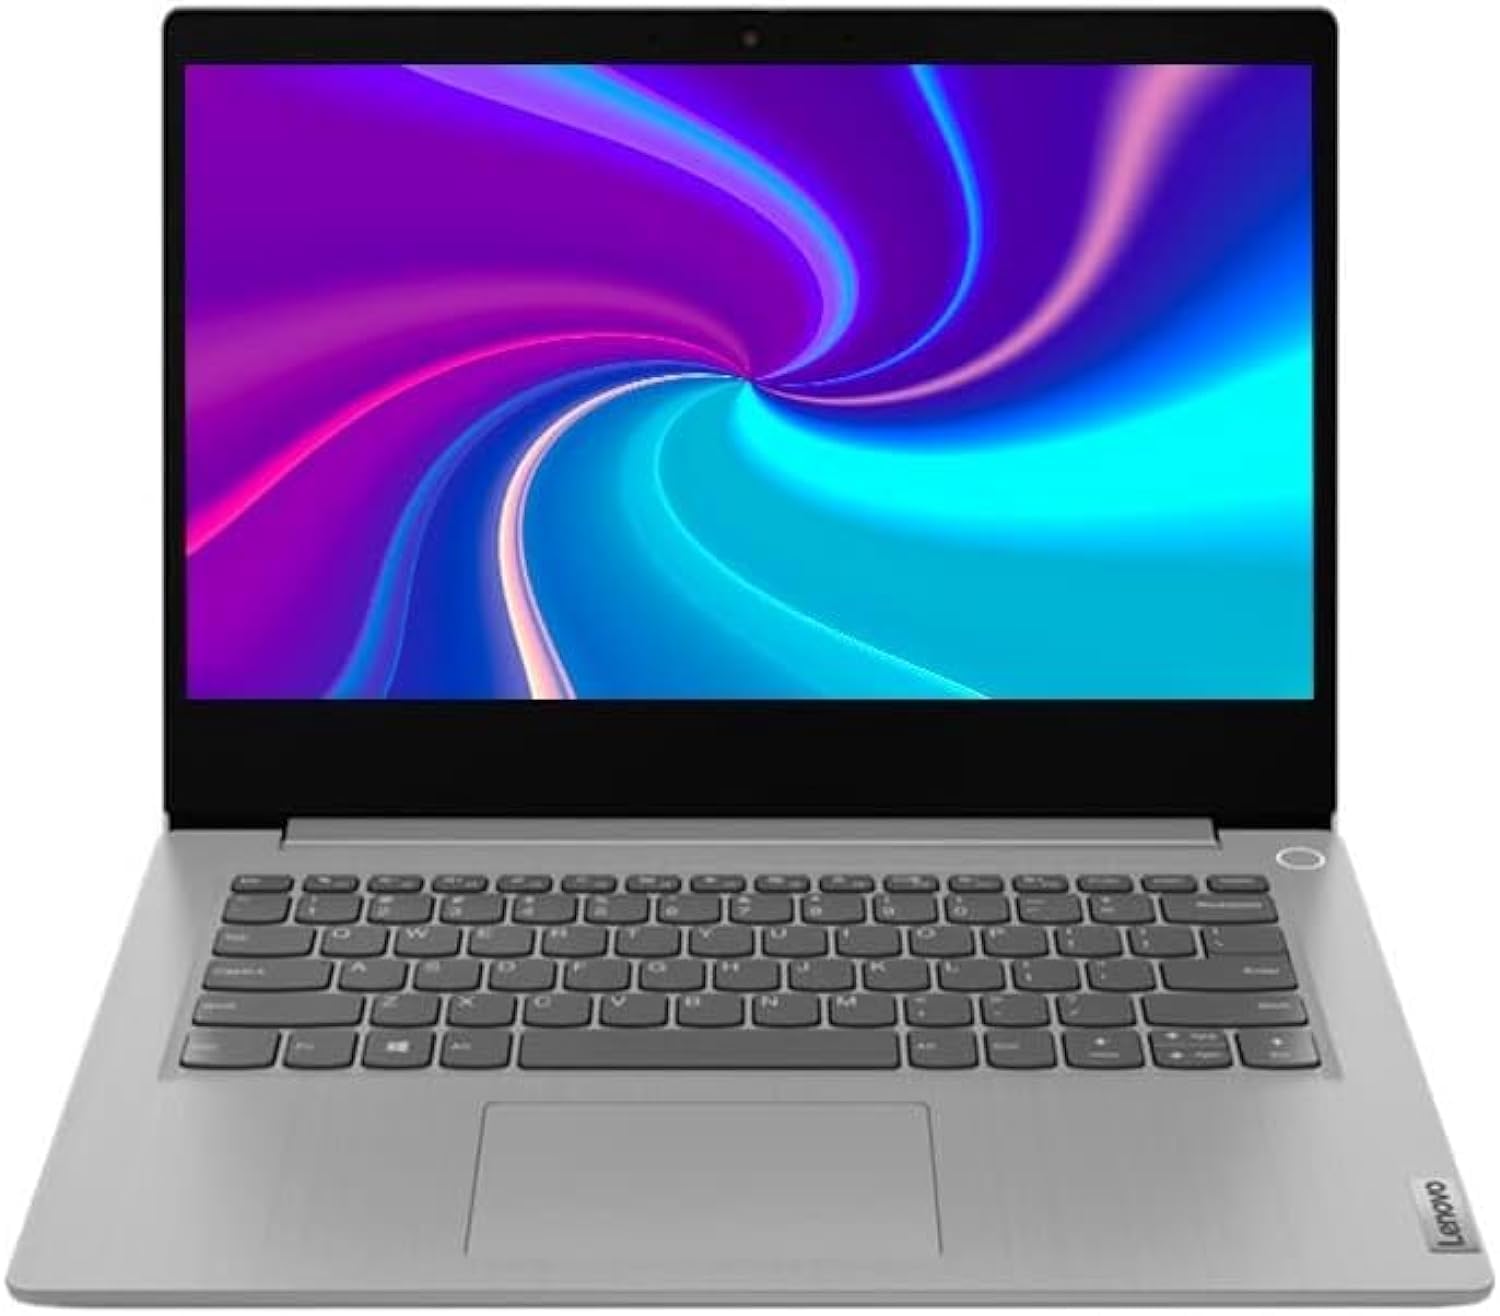
For Lenovo laptops running operating systems other than Windows, the process for taking screenshots will vary.
Chrome OS
On Lenovo Chromebooks, you can take a screenshot by pressing the CTRL + Show Windows keys (where the Show Windows key looks like a rectangle with two lines on the right side).
Linux
The method varies by distribution, but generally, you can use the Print Screen key for full-screen captures, and Shift + Print Screen for capturing a portion of the screen.
Managing and Using Your Screenshots After Capturing
After you’ve captured your screenshot, knowing how to locate, manage, and use them is essential.
Locating Your Screenshots
On Windows, screenshots saved automatically by the Windows + PrtScn command can be found in the “Pictures” folder, under “Screenshots.” Images copied to the clipboard need to be pasted into an image editor or document and then saved manually.
Editing and Sharing Your Screenshots
Open your screenshots with an image editor to make any necessary edits. If you’re looking to share your capture, you can attach it to an email, upload it to social media, or store it on cloud services for easy access and sharing.
Organizing Screenshots for Future Reference
Create dedicated folders to organize your screenshots, especially if you take them frequently. This will help you find specific images later on, saving you time and hassle.
Enhancing Screenshots with Built-in Editing Features
Once you’ve mastered the initial capture, you should explore the built-in image editing features on your Lenovo laptop. Both the Snipping Tool and Snip & Sketch offer options to annotate and edit your screenshots directly after capturing them. You can highlight important information, add notes, or blur sensitive data before sharing the image. Understanding these editing options allows you to convey your message more effectively, ensuring that your screenshots have the intended impact, whether they’re used for presentations, tutorials, or reporting software issues.
Integrating Screenshots into Documents and Presentations
Screenshots can be a powerful addition to various documents and presentations, serving as evidence, examples, or visual aids. Once captured and edited, adding your screenshots into programs like Microsoft Word, PowerPoint, or Google Docs is straightforward. Simply paste the image from the clipboard or insert it from a saved file. Learning the proper way to integrate screenshots into your documents will result in more professional and compelling content, enhancing your ability to communicate complex information with ease.
Maintaining Privacy When Sharing Screenshots
It’s important to be vigilant about the content of your screenshots, especially when sharing them online or with others. Before capturing a screenshot, ensure that no personal information, sensitive data, or private communication is visible on the screen. If there’s already confidential information in the screenshot, use the editing tools to redact or obscure it. Additionally, when saving screenshots, consider using encryption or password protection for files that contain sensitive information. Taking these precautions can help maintain your privacy and security, and that of others, when utilizing screenshots in various contexts.
Taking a screenshot on a Lenovo laptop is a simple task that can be accomplished in various ways, depending on your specific needs and the operating system you are using. Whether it’s for work, education, or personal use, mastering the art of screen capturing can enhance your computing experience. With this guide, you’re now equipped to efficiently capture, edit, and manage screenshots on your Lenovo laptop. Remember that while built-in tools offer convenience and ease of use, third-party applications might provide additional functionality that could suit your needs even better.
