Introduction to Disabling Laptop Keyboards
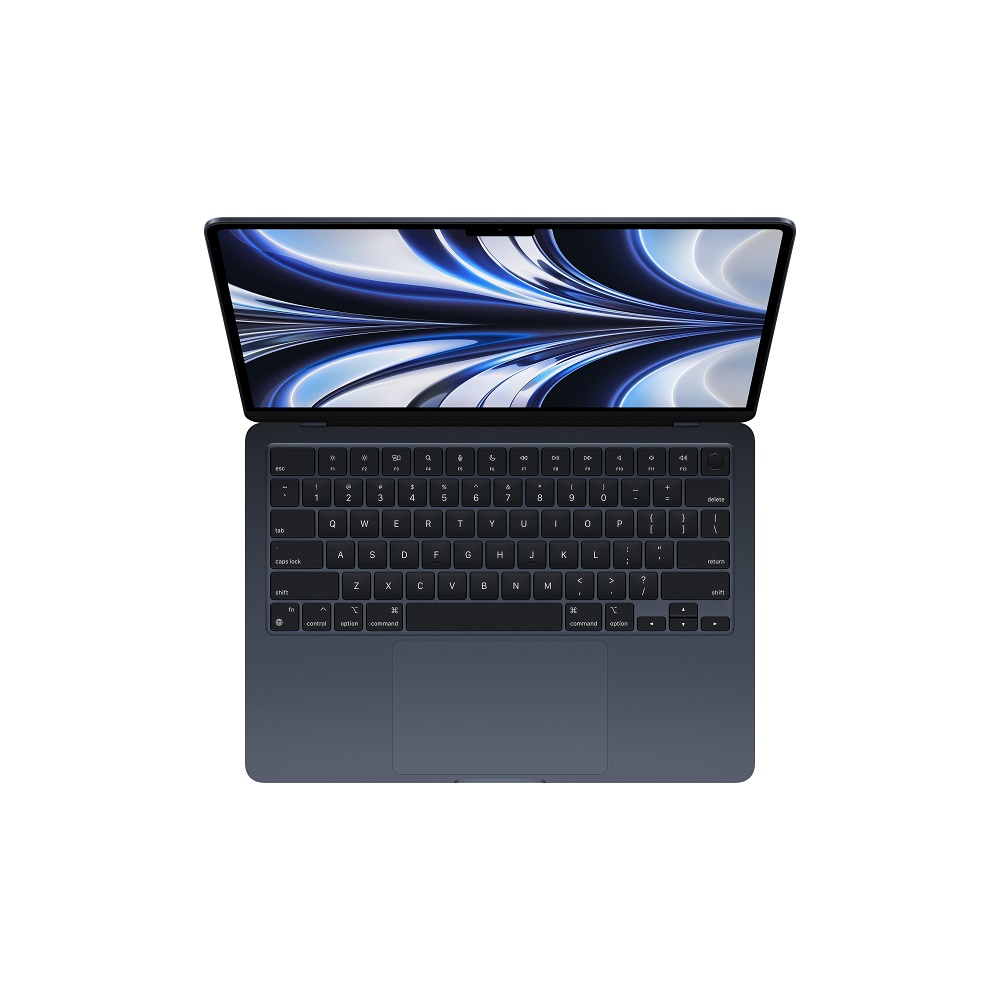
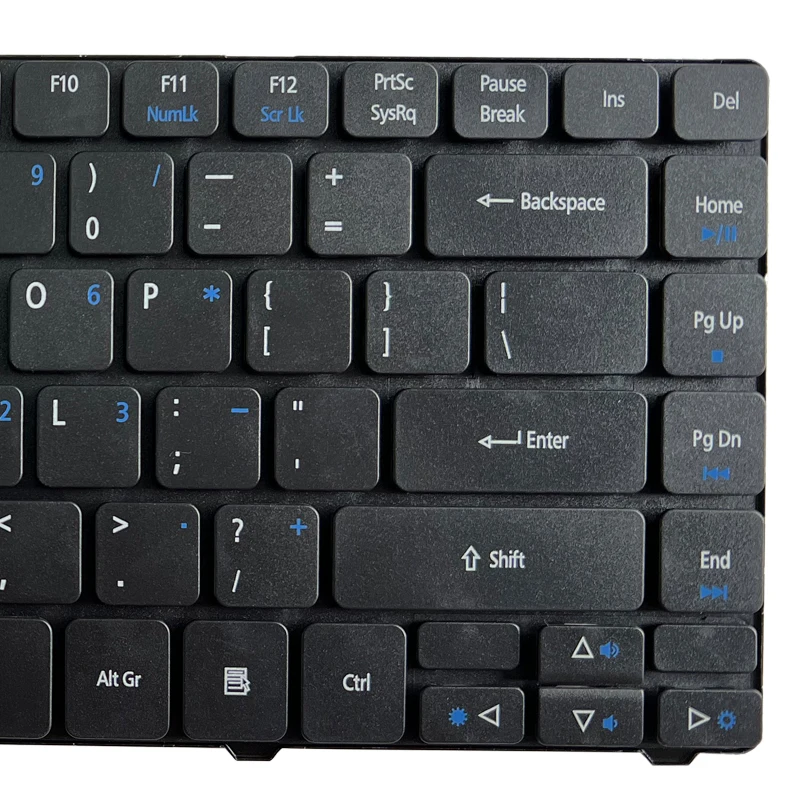
Sometimes, you may need to turn off your laptop’s keyboard. This could be due to a malfunctioning keyboard, a desire to clean it without pressing keys, or using an alternative keyboard like a USB or Bluetooth device. The process can be simple for a temporary fix or more complex for a permanent solution. In both Windows 10 and Windows 11, methods exist to manage your keyboard’s functionality. This guide will provide a step-by-step approach to disable the keyboard on your laptop, offering both temporary and permanent solutions. We will also discuss alternatives like using external keyboards and tips for troubleshooting common issues. Whether for short-term or long-term keyboard deactivation, it’s important to follow the correct steps to avoid any system conflicts or issues.
Temporary Keyboard Deactivation Methods
There are times when disabling your laptop’s keyboard is necessary. Knowing how to temporarily deactivate may benefit you when you’re managing your device’s input options or troubleshooting.
Using Device Manager to Uninstall Drivers
Temporary keyboard deactivation involves driver uninstallation. In both Windows 10 and Windows 11, you can use Device Manager for this task. Follow these steps to disable your keyboard:
- Click the Start menu and enter ‘device manager’ in the search bar.
- Locate ‘Keyboards’ in the Device Manager and click to expand it.
- Right-click on each keyboard driver listed and select ‘Uninstall’ or ‘Uninstall device’.
By doing this, the keyboard stops registering keystrokes, giving you peace of mind. For instance, this is ideal if you’re cleaning your laptop or if the keyboard malfunctions. The deactivation persists only until the next restart. As you reboot, Windows reinstalls the drivers, bringing the keyboard back into action.
This method is a quick fix for temporary scenarios. For a permanent solution, you will need to follow different steps, which we will cover in the following sections.

Permanently Disabling the Laptop Keyboard
For those who need a more lasting solution to disable the laptop keyboard, there are steps that can be taken to ensure the keyboard remains inactive even after restarting the device. This may be necessary in situations where the keyboard is faulty or you are exclusively using an external keyboard.
Editing Group Policy for Permanent Deactivation
Editing the Group Policy is one way to permanently disable your laptop’s keyboard. It prevents Windows from automatically reinstalling the keyboard drivers after a system reset or restart. Here’s how to do it:
- Press the Start menu button and type ‘group policy’ in the search field.
- Click ‘Edit group policy’ from the search results to enter the Local Group Policy Editor.
- Navigate through ‘Computer Configuration’ to ‘Administrative Templates’ > ‘System’ > ‘Device Installation’.
- Find and double-click ‘Device Installation Restrictions’.
- Look for and right-click the ‘Prevent installation of devices not described by other policy settings’ option.
- Click ‘Edit’, then select ‘Enabled’ and confirm your choice by clicking ‘OK’.
Remember, this action is substantial; reversing it requires you to go back into the Group Policy Editor.
Steps to Disable Automatic Driver Reinstallation
After configuring the group policy setting, you should follow these steps to complete the keyboard deactivation process:
- Access Device Manager by typing ‘device manager’ into the Start menu’s search bar.
- Find the ‘Keyboards’ section and expand it.
- Uninstall the keyboard(s) listed by right-clicking each and choosing ‘Uninstall device’.
Your laptop’s keyboard will now stay disabled, even after a restart. To reactivate it in the future, simply re-enable the driver installation in the Group Policy Editor.
By following these procedures, you ensure that the keyboard is permanently disabled, allowing you to utilize external keyboards without interference from the built-in keyboard. This guide should serve as an empowering tool for managing your laptop’s hardware according to your personal or professional needs.

Alternatives to Built-in Keyboards
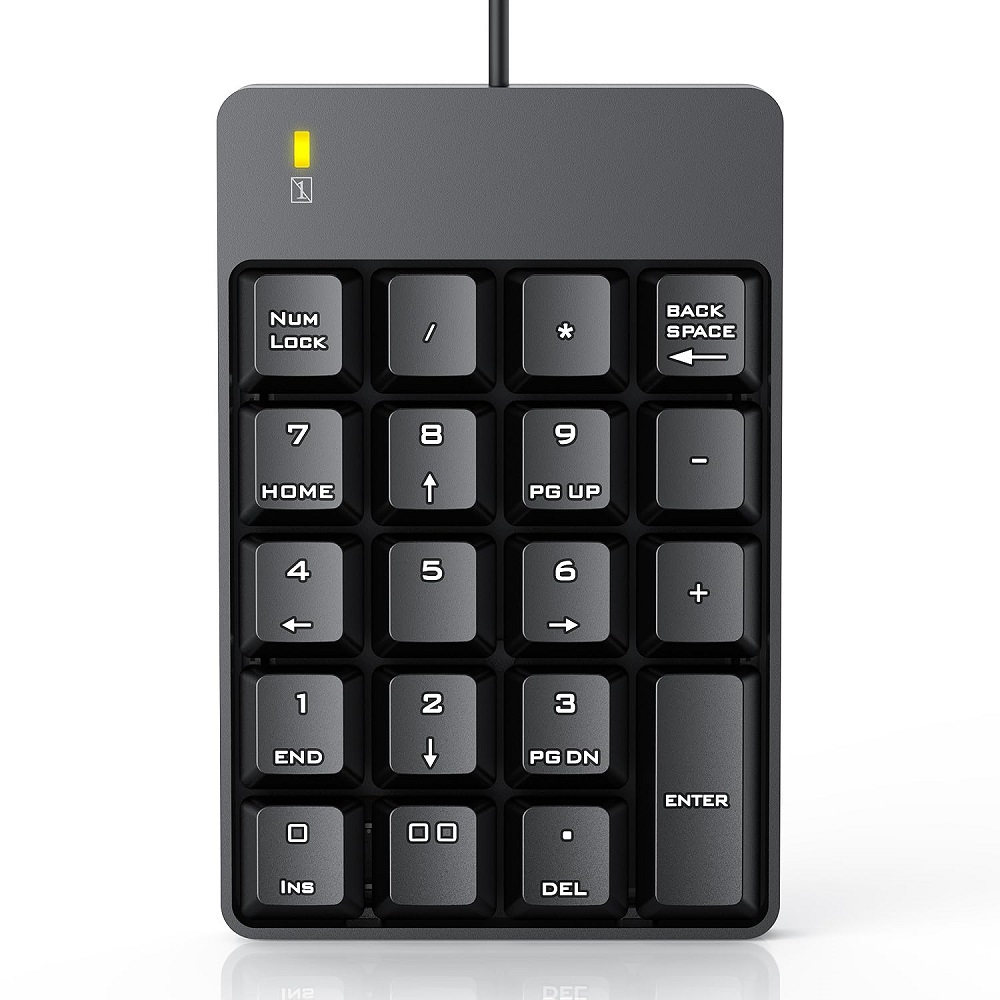
When your laptop’s built-in keyboard is disabled, using external keyboards is a practical option. Whether you prefer the tactile feel of a USB keyboard or the convenience of a wireless Bluetooth model, these alternatives can enhance your computing experience. Below, we’ll explore how to connect both types of keyboards to your laptop.
How to Use a USB Keyboard with Your Laptop
Using a USB keyboard is straightforward and often plug-and-play. To connect one:
- Ensure your laptop has a USB port available.
- Plug the USB connector of the keyboard into the port.
- Wait for your laptop to recognize the device and install any necessary drivers.
- Begin typing once the notification shows the keyboard is ready for use.
The USB keyboard should work seamlessly alongside your laptop’s disabled keyboard. It’s ideal for extended typing sessions or as a temporary replacement.
Connecting a Bluetooth Keyboard to Your Laptop
For a clutter-free setup, a Bluetooth keyboard is the way to go. Here’s how to connect it:
- Open your laptop’s settings and go to the Bluetooth section.
- Ensure Bluetooth is on, then turn on your Bluetooth keyboard.
- Put the keyboard in pairing mode as directed by its manual.
- On your laptop, select ‘Add Bluetooth or other device’ and choose ‘Bluetooth’.
- Select the keyboard from the list of devices and pair it.
Once connected, your Bluetooth keyboard is ready for use. It’s perfect for those who need to move around or prefer a minimalist workspace.
Whether you opt for a USB or Bluetooth keyboard, these alternatives provide flexibility and can solve various issues associated with built-in keyboards.
Troubleshooting Common Keyboard Issues
Dealing with keyboard woes on your laptop can be frustrating, but there are several troubleshooting methods to get it back in working order. If you’re encountering persistent keyboard problems, a few simple solutions may help before considering more drastic measures like disabling or replacing the keyboard.
Solutions for Non-Responsive Keyboards
When your laptop’s keyboard fails to register keystrokes, here’s what you can try:
- Restart your laptop: Occasionally, a simple restart can resolve keyboard issues.
- Check keyboard connections: Ensure the keyboard’s internal cable isn’t loose or disconnected.
- Update drivers: Outdated or corrupted drivers might cause keyboard malfunctions. Use ‘device manager’ to check for updates.
- Run hardware troubleshooters: Windows’ built-in troubleshooter can often spot and fix keyboard glitches.
- Check for interference: Other wireless devices can conflict with wireless keyboards. Move them away if needed.
By running through these steps, many keyboard problems can be swiftly addressed without needing to ‘how to disable keyboard on laptop’.
Fixing a Stuck Laptop Cursor
A stuck cursor can be as irritating as a non-responsive keyboard. These tips can help unstick your cursor:
- Check your touchpad: Ensure it’s not disabled in your settings or by a keyboard shortcut.
- Update touchpad drivers: Similar to the keyboard, outdated drivers can cause cursor issues.
- Clean the touchpad: Dust and gunk may hinder touchpad sensitivity. Clean gently with a soft cloth.
- Disconnect external mice: Unplug USB mice to check if they’re causing the problem.
- Restart in Safe Mode: Booting in Safe Mode can determine if software issues are at fault.
In conclusion, tackling common laptop keyboard issues often starts with straightforward troubleshooting steps. For non-responsive keyboards, consider tips such as restarting your laptop and updating drivers. Should you face a stuck cursor, attempt to check and clean your touchpad and remove potential interferences. These initial approaches often resolve the problem, making it unnecessary to disable your laptop’s keyboard or seek further assistance.

Maintaining Your Laptop Keyboard
The proper upkeep of your laptop’s keyboard can extend its life and keep it functioning optimally. Regular maintenance includes cleaning and being cautious about changes to its setup. Below are tips and precautions to consider when maintaining or disabling your laptop’s keyboard.
Cleaning Tips for Laptop Keyboards
Keeping your keyboard clean is crucial for performance and hygiene. Here are some simple steps for effective cleaning:
- Turn off your laptop: Always start by shutting down to avoid unintended keystrokes.
- Use compressed air: Gently blow away debris between keys with a can of compressed air.
- Apply isopropyl alcohol: Dab a cotton swab or soft cloth in alcohol and wipe keys.
- Pop out the keys: If needed, carefully remove keys for a deeper clean, but check your laptop’s manual first.
Precautions When Disabling Keyboards
Before disabling a keyboard, consider these important points:
- Have a backup: Ensure you have an external USB or Bluetooth keyboard ready.
- Understand the process: Review the steps for deactivation whether temporary or permanent.
- Check the impact: Disabling a keyboard could affect other system functions or inputs.
- Know the risks: Permanent deactivation is significant; be sure you won’t need the built-in keyboard again.
By following these tips and precautions, you can keep your laptop’s keyboard clean and decide confidently ‘how to disable keyboard on laptop’ whether for short-term or permanently. Regular maintenance and safe deactivation practices contribute to a better laptop experience.
When to Consider a New Laptop
As you manage your laptop’s keyboard issues, you might wonder when to consider an upgrade.
Identifying the Signs for an Upgrade
Recognizing when your laptop requires replacing is key to staying productive and avoiding frustration. Here are clear signs that it might be time for a new machine:
- Aging Hardware: If your laptop is over five years old, it may struggle with modern software and tasks.
- Frequent Repairs: Ongoing issues and constant repairs can indicate it’s time for an upgrade.
- Slow Performance: If your laptop takes a long time to start up or run basic programs, this is a red flag.
- Battery Issues: When the battery no longer holds a charge or dies quickly, it may not be worth replacing.
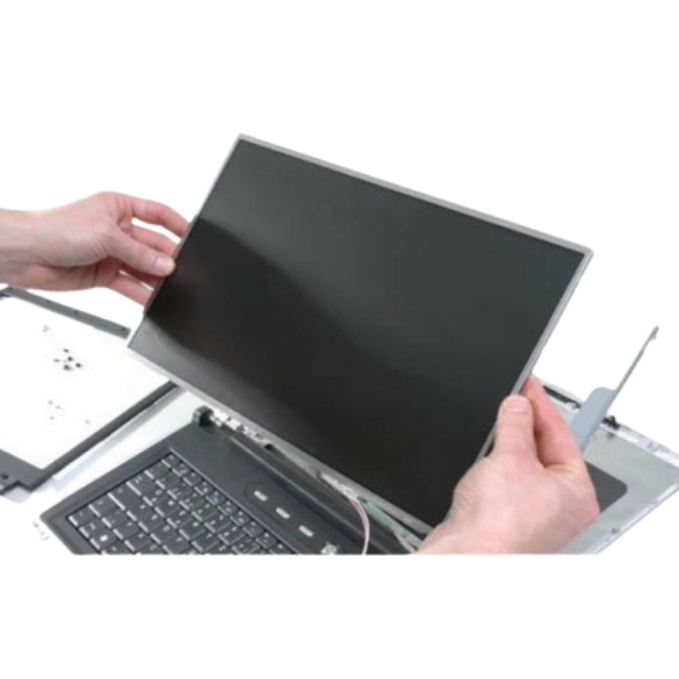
- Damage: Physical damage, like a broken screen or keys, can be the push you need for a new laptop.
- Software Compatibility: If the latest updates or software are not compatible with your laptop, consider a replacement.
Remember, sometimes resolving individual components, like ‘how to disable keyboard on laptop,’ can’t overcome broader performance issues. When these signs become apparent, it might be more economical and efficient to invest in a new laptop rather than making do with a faltering one.


