
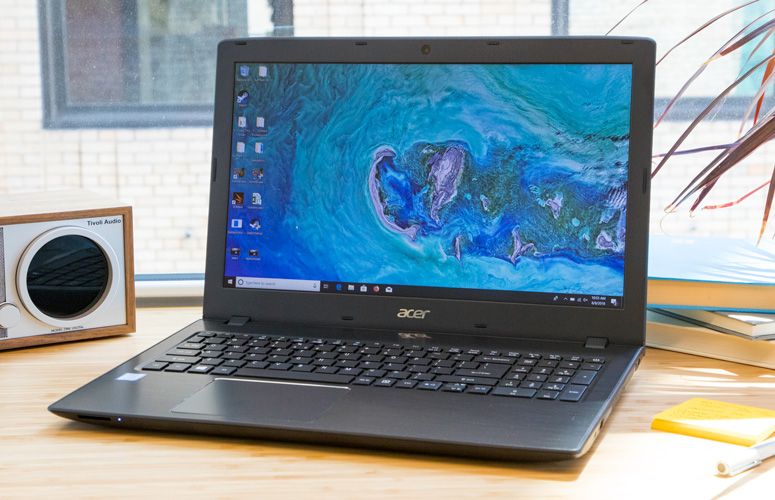
Taking a screenshot on an Acer laptop is a useful skill that enables you to capture what is on your screen at any given moment. This can be helpful for saving receipts, showing error messages to tech support, or keeping a copy of an online transaction. There are several methods to take screenshots on your Acer laptop, depending on what exactly you need to capture and which operating system you are using. In this article, we’ll explore keyboard shortcuts, built-in tools, third-party applications, and tips for managing your screenshots effectively.
Keyboard Shortcuts for Quick Screenshots
The most direct way to take a screenshot on an Acer laptop is by using keyboard shortcuts, which provide a fast and easy way to capture your screen without additional software.
The PrtScn (Print Screen) Key
The simplest way to take a screenshot is to press the ‘PrtScn’ key on your keyboard. This key may be abbreviated differently depending on your laptop model. Pressing it captures the entire screen and copies the image to your clipboard. You can then paste it into an image editing tool or document.
Additional Shortcut Combinations
For more specific screen captures, Windows offers additional shortcuts:
- ‘Alt’ + ‘PrtScn’: Captures only the active window, ignoring the rest of the screen.
- ‘Windows’ + ‘Shift’ + ‘S’: Opens the Snip & Sketch tool, allowing you to select an area of the screen to capture.
- ‘Windows’ + ‘PrtScn’: Takes a screenshot of the entire screen and automatically saves it as a file in the ‘Pictures’ > ‘Screenshots’ folder.
Built-In Tools for Enhanced Screenshot Capabilities
Windows has built-in tools that provide more functionality than the simple keyboard shortcuts, giving you more control over the screenshots you take.
Using Snip & Sketch
Snip & Sketch is a Windows tool that replaced the older Snipping Tool. It offers options to take screenshots of rectangular areas, free-form areas, the full screen, or individual windows. After pressing ‘Windows’ + ‘Shift’ + ‘S’, select the type of snip you want, and then the screenshot will open in the Snip & Sketch app for editing.
Accessing the Snipping Tool
Although Snip & Sketch is the newer tool, the Snipping Tool is still available on Windows 10. You can find it by searching for it in the Start Menu. It offers similar snipping options to Snip & Sketch and can be useful if you’re more familiar with this tool.

Third-Party Applications for Advanced Features
If you require more robust screenshot capabilities, third-party applications can offer advanced features beyond what Windows provides.
Choosing the Right Screenshot Application
There are numerous third-party screenshot tools available, like Lightshot, Greenshot, and Snagit. These programs often provide additional features such as delayed captures, comprehensive editing options, and the ability to upload or share screenshots directly.
Considering the Benefits of Third-Party Tools
While Windows built-in tools are sufficient for basic needs, third-party applications might be necessary for professional use or when you need more precise control over your screenshots. They can streamline your workflow and save time when taking multiple screenshots.
Managing and Sharing Your Screenshots
After taking screenshots, managing and sharing them efficiently can make the process more effective, especially if you take screenshots frequently.
Organizing Screenshot Files
Create a dedicated folder for your screenshots to keep them organized. Use descriptive filenames and consider sorting them into subfolders by date or project for easy retrieval.
Sharing and Storing Screenshots
You can share your screenshots through email, messaging apps, or online storage services like Google Drive or Dropbox. For quick sharing, some screenshot tools allow you to upload directly to the cloud and provide a shareable link.
Customizing Screenshot Settings for Efficiency
To tailor the screenshot experience to your needs, Windows allows you to customize certain settings that can streamline the process, making it even more efficient.
Adjusting Snip & Sketch Settings
In the Snip & Sketch tool, you can adjust settings such as the default mode for captures, the delay timer for taking screenshots, and the option to include the cursor or not. To access these settings, open Snip & Sketch and click on the three dots in the upper right corner to find ‘Settings.’
Keyboard Shortcut Customization
For those who frequently use keyboard shortcuts, you can customize hotkeys to launch specific screenshot tools more quickly. This can be done through third-party applications that allow hotkey bindings or through Windows settings for accessibility.
Editing and Annotating Screenshots for Clarity
Once a screenshot is captured, editing and annotating the image can help highlight important information or add context to what’s being shared.
Using Editing Tools
Snip & Sketch and other screenshot tools often come with a set of editing features that allow you to crop, annotate, and add text to your screenshots. Utilize these tools to draw attention to specific parts of the image or to provide additional explanations directly on the capture.
Annotating With Precision
The level of precision in your annotations can make a significant difference in communicating your message. Use arrows, circles, or highlighters to guide the viewer’s focus, ensuring that the key elements of your screenshot are clear and easily understood.
Exploring Screenshot Accessibility Options
Accessibility features in Windows can also assist with taking screenshots, making the process easier for all users.
Utilizing Windows Accessibility Features
Windows offers several accessibility options that can help with screenshots, such as the on-screen keyboard or voice commands. These can be particularly helpful for users who may find it challenging to use standard keyboard shortcuts.
Leveraging Voice Commands
For hands-free screenshot capturing, you can set up voice commands through Cortana or other voice-recognition software. This allows you to take a screenshot with a simple spoken command, which can be especially useful when multitasking.
Mastering the Art of Screenshots on Acer Laptops
Taking screenshots on an Acer laptop is a straightforward process with the right knowledge and tools. Whether you use keyboard shortcuts for a quick capture, Windows built-in Snip & Sketch for more options, or third-party applications for advanced features, you have various methods at your disposal. By managing your screenshots effectively and understanding how to share them efficiently, you can incorporate this digital skill seamlessly into your everyday tasks. Screenshots are more than just pictures; they are a way to document, communicate, and save important information quickly and easily.